Occasionally I will have need to transfer photos from Eliza’s iPhone X to my Windows 10 laptop. I’ve found the process of transferring the photos to be excruciatingly slow, unreliable, and frustrating. That is, until I figured out a better way.
Most tutorials, including Microsoft’s own, will recommend you plug the phone into your computer, open the Photos for Windows 10 app, and import the files through that app. But this never worked for me. I was attempting to transfer just under 5,000 photos and the process rarely worked for more than a few hundred before the phone disconnected, the process halted, or an error message popped up.
It turns out there is a better way. Here are the steps I recommend.
- Open iPhone’s Settings app and navigate to Photos and under “Transfer to Mac or PC” choose “Keep Originals”
- Connect your iPhone to Windows 10 via USB
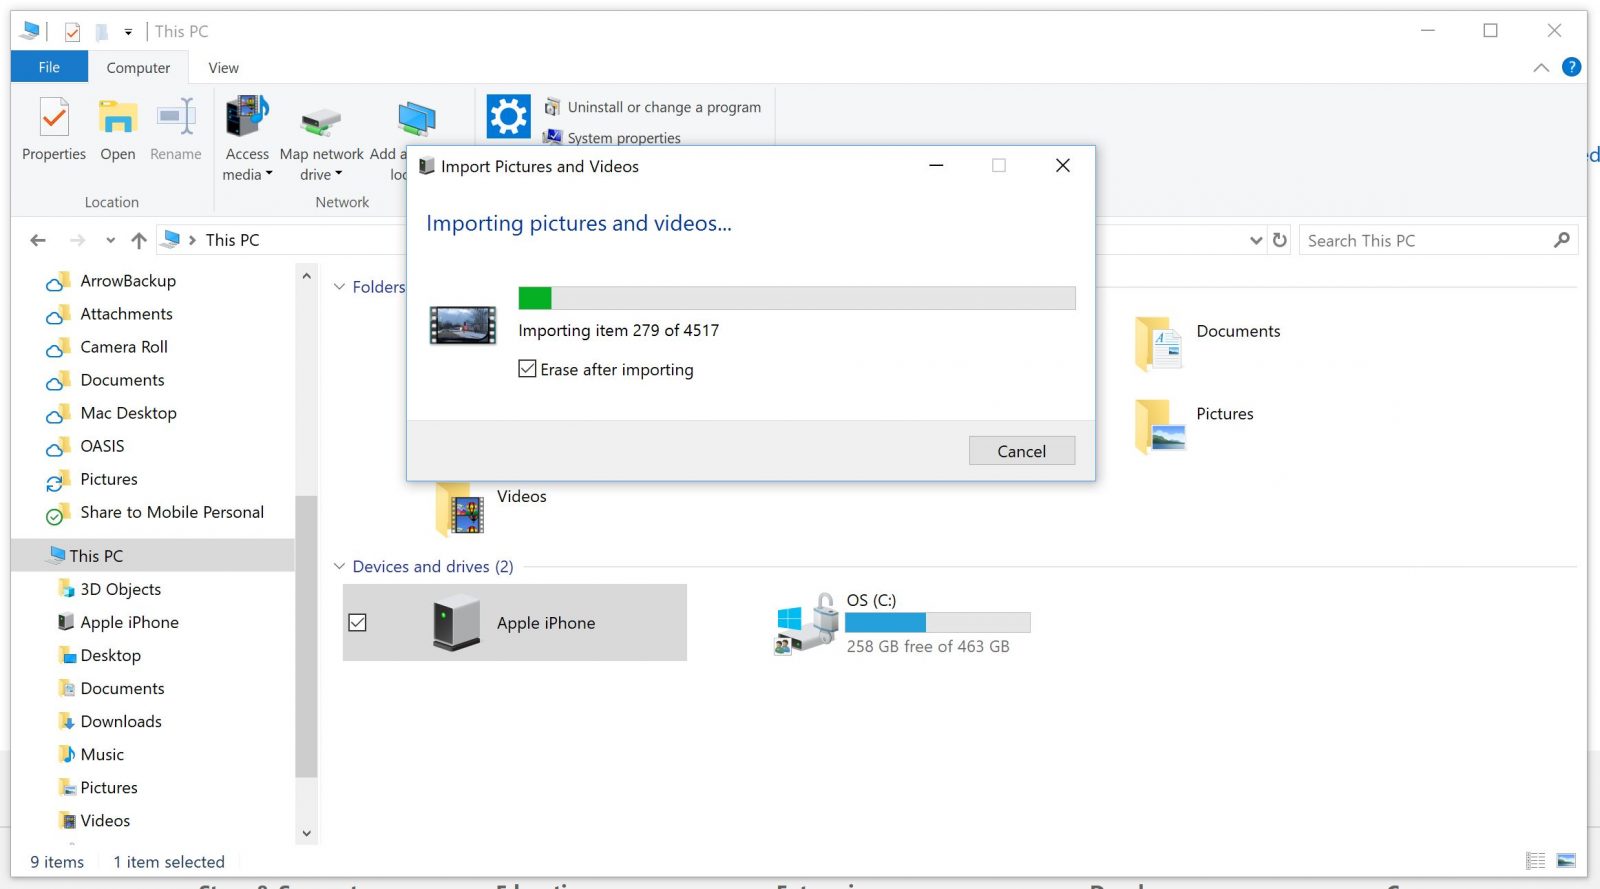
- Open File Explorer and navigate to “This PC”
- Under Devices right click on the now connected iPhone and choose “Import Photos & Videos”
Using this process proved to work reliably and much quicker than going through the Photos app. Also, toggling that one option in Settings made a world of difference in reliability.
Of course, this was my experience, your mileage may vary.