I’d been wanting to make my own camera for several months. Something simple like a shoe box pinhole camera. But then quarantine happened and I stumbled across Brendan Barry’s YouTube video about turning a room in your house into a camera obscura – and making a paper negative and positive print.
I thought with the quarantine and all that I had the time to figure this out on my own. So I decided to turn our bedroom into a camera obscura and, hopefully, make a paper negative from it. It turned out to be the most educational photographic experience I’ve had to date.
By blowing the scale of the camera up to a room-size, you learn how each individual piece of a camera plays its role. Reading or watching a YouTube video about how a camera works is not the same as making one yourself. Everything is exaggerated. The size of the lens, aperture, distance to the film, etc. This way, you can actually see how each of these things impacts the overall result.
Due to quarantine delaying some deliveries, and the lack of resources we have by not allowing much material to enter our home, it took me about a week from start-to-finish to get a paper negative that I thought of as “good enough” to move on from the project and give my wife our bedroom back. I could definitely see doing this project again, or at a smaller scale using a box.
Here are the steps I took and a few things I learned along the way. This is, by no means, a how-to blog post. For that I urge you to watch Barry’s video linked above.
I started by using a cardboard box to block the window in our bedroom. I was surprised at how difficult this turned out to be. Light is extremely good at finding its way into and around objects. This was in and of itself a lesson. If I were to do this again I’d start with a larger piece of cardboard that wouldn’t rest inside of the window frame but would, instead, rest upon it – covering the entire window. Ideally I’d also have black gaffer’s tape, some sort of foam seal that I could use in odd areas, and other materials. But, I was working within my constraints.

The window, boarded up, and mostly light leak free
I cut out a rather large aperture in the cardboard to begin with, like in Barry’s video, and for the life of me I was never able to find a focal length that worked with this set up. By large I mean a few inches in diameter. It might have been due to the fact that Barry was using a large magnifying glass as his lens and I wasn’t in the beginning. The moment I created a much smaller aperture, around 3/16″ or so – was when the world came into focus. It was still a little fuzzy, but it was in focus enough to be passable for a few digital captures.
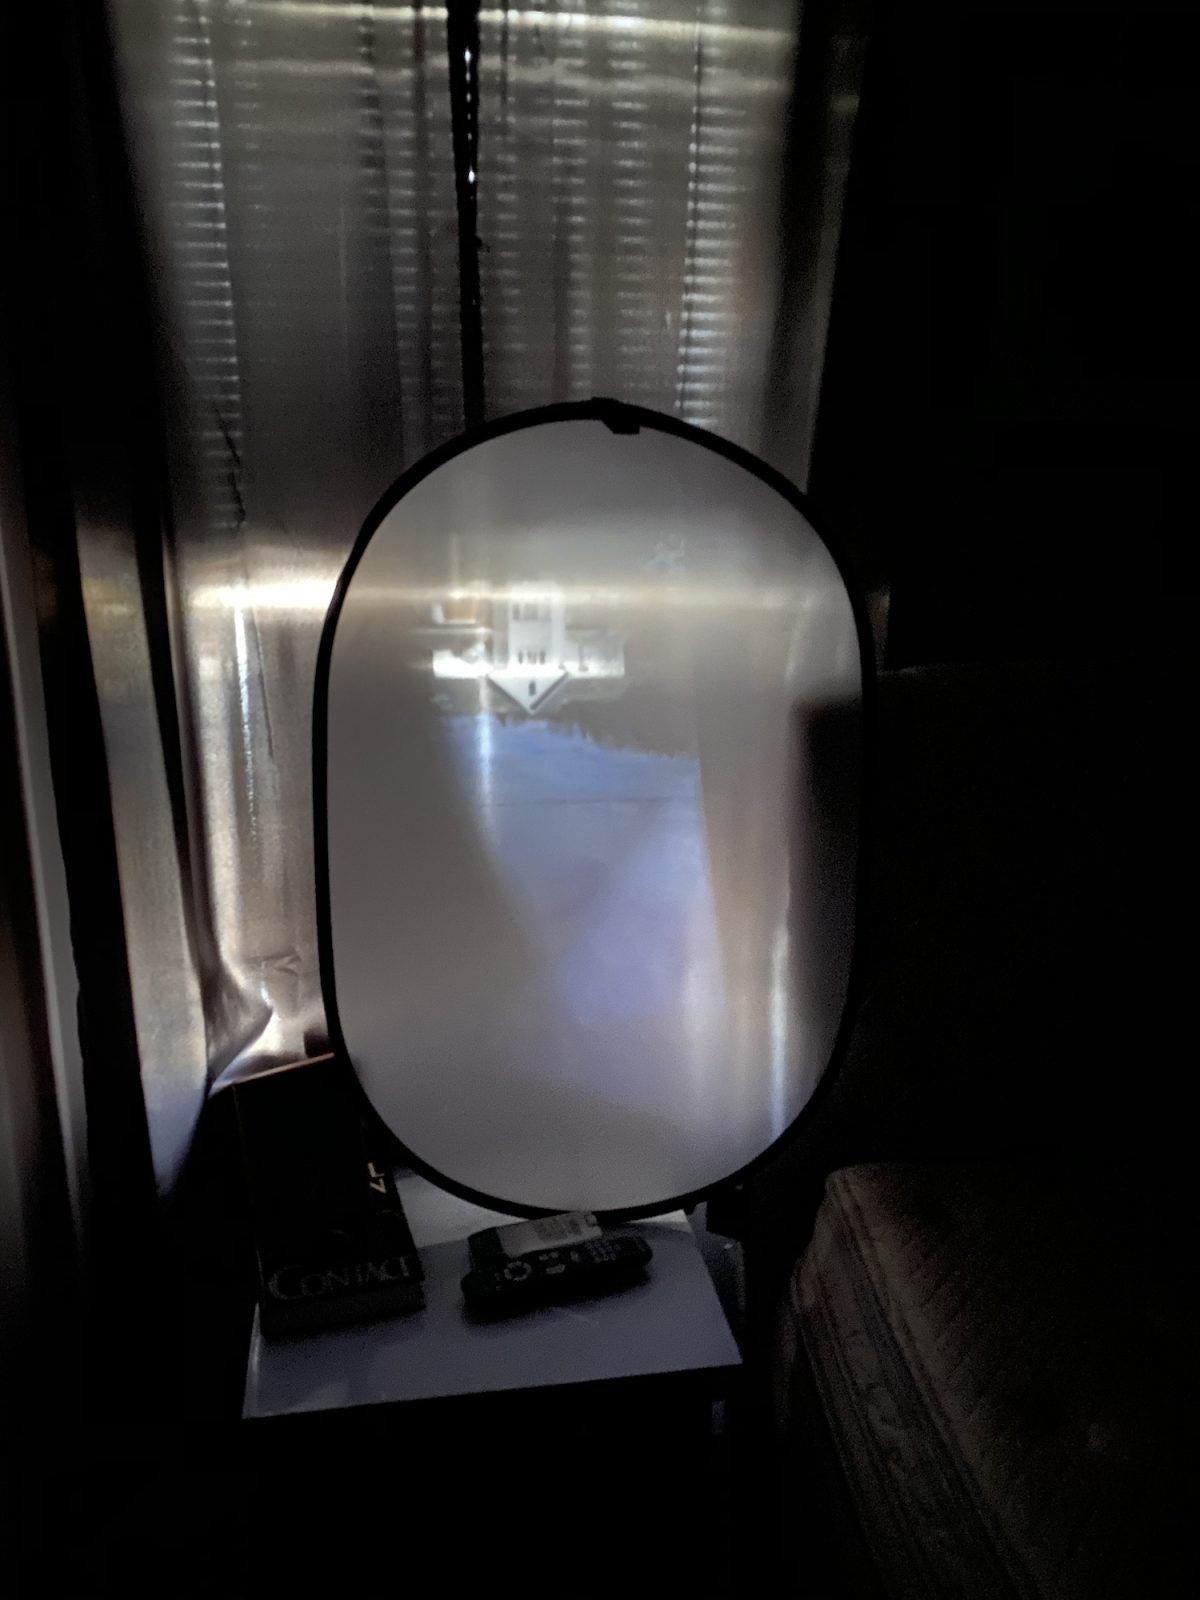
A simple aperture projected directly onto a diffuser.
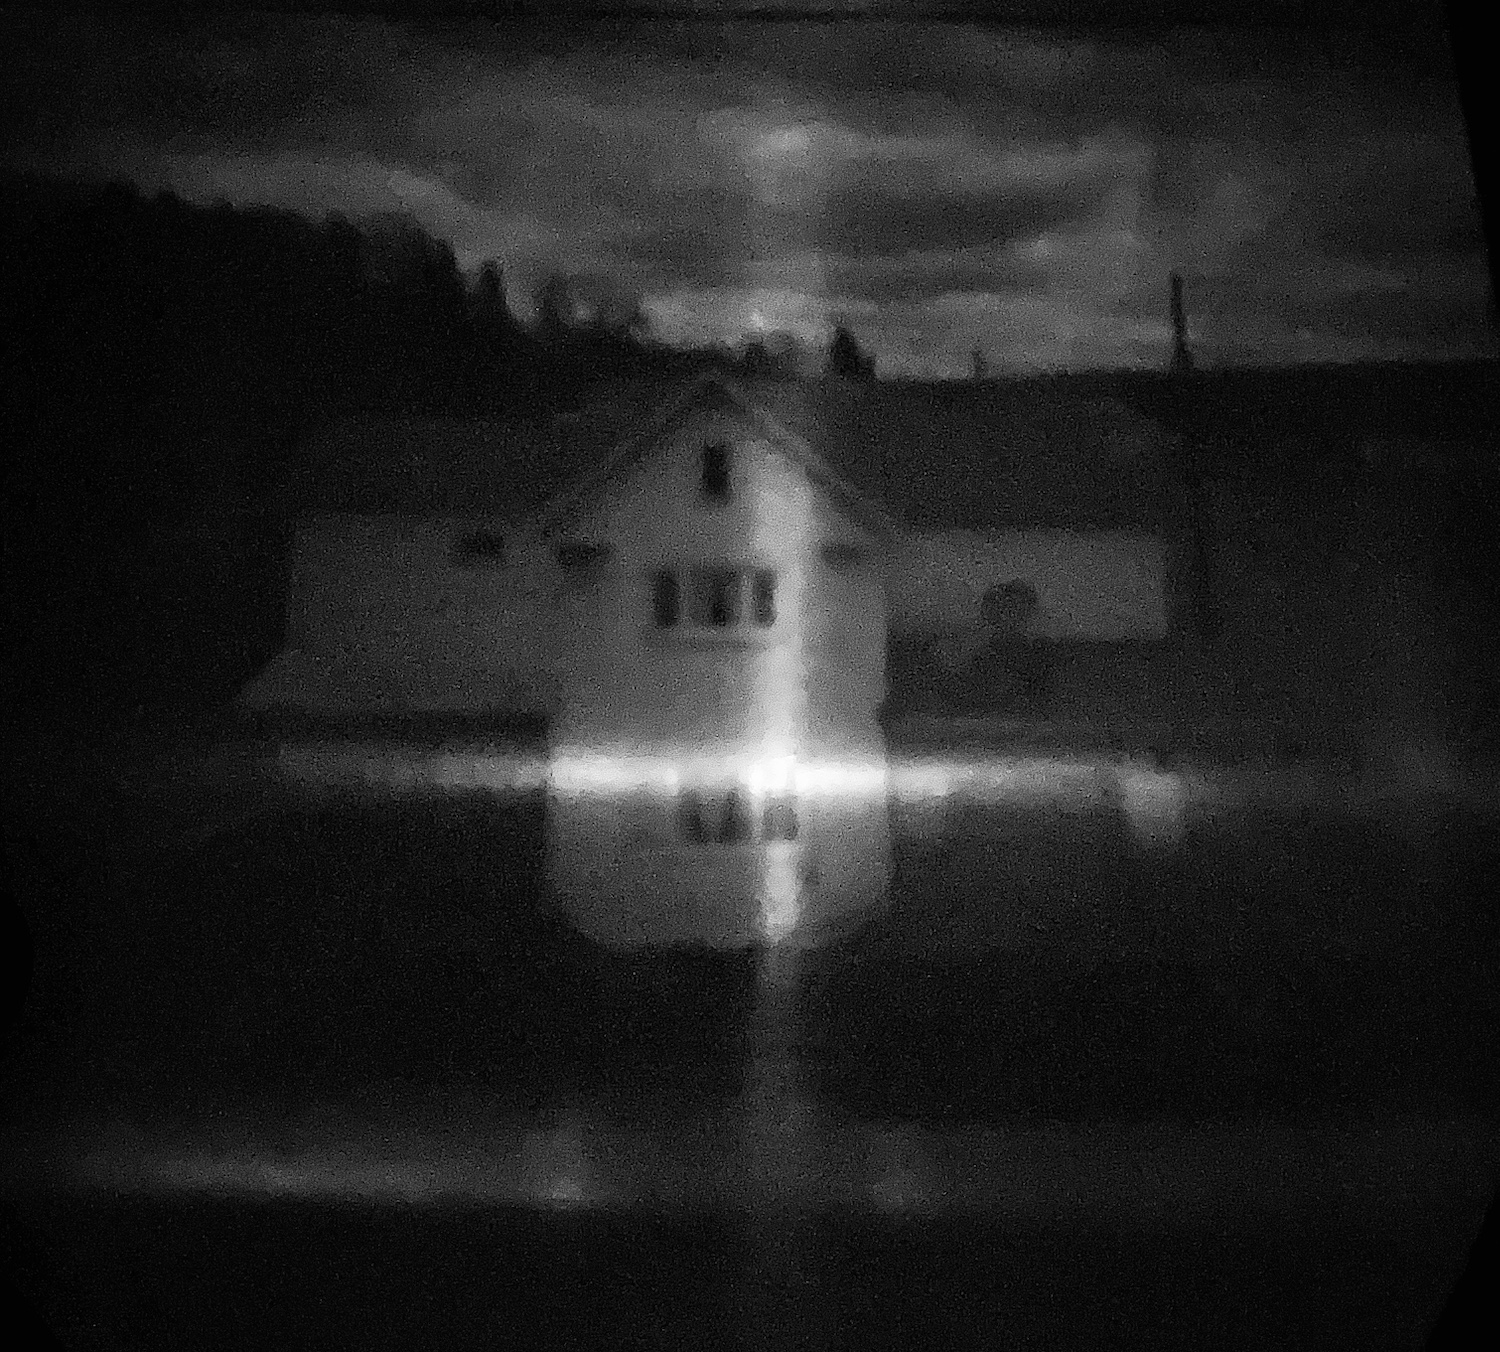
Black and white digital capture, flipped.
After playing with several different set ups and attempting many different apertures – I decided to grab a simple 2x lens filter from a 35mm camera and place it in front (on the subject’s side) of the aperture. Boom. It made an immediate and marked improvement in the focus. I believe it was at this point that it really dawned on me, I was actually building a camera. On a camera the order of elements is glass lens, aperture, some amount of distance, film or digital censor. I don’t know why it took my brain this long to lock into that concept but once I did things really began to speed up.
I employed several different types of “canvases” to project the image onto. I started with a light diffuser – which worked great to show the scale of the projected image. I could make the image as big as I wanted to. But then I eventually built a simple “stage” using a tripod and a white scanner bed cover. This too reinforced the notion that the surface upon which you project the light impacts the overall look of the image greatly. With the diffuser it was, well, diffused. But on the canvas it was much sharper.
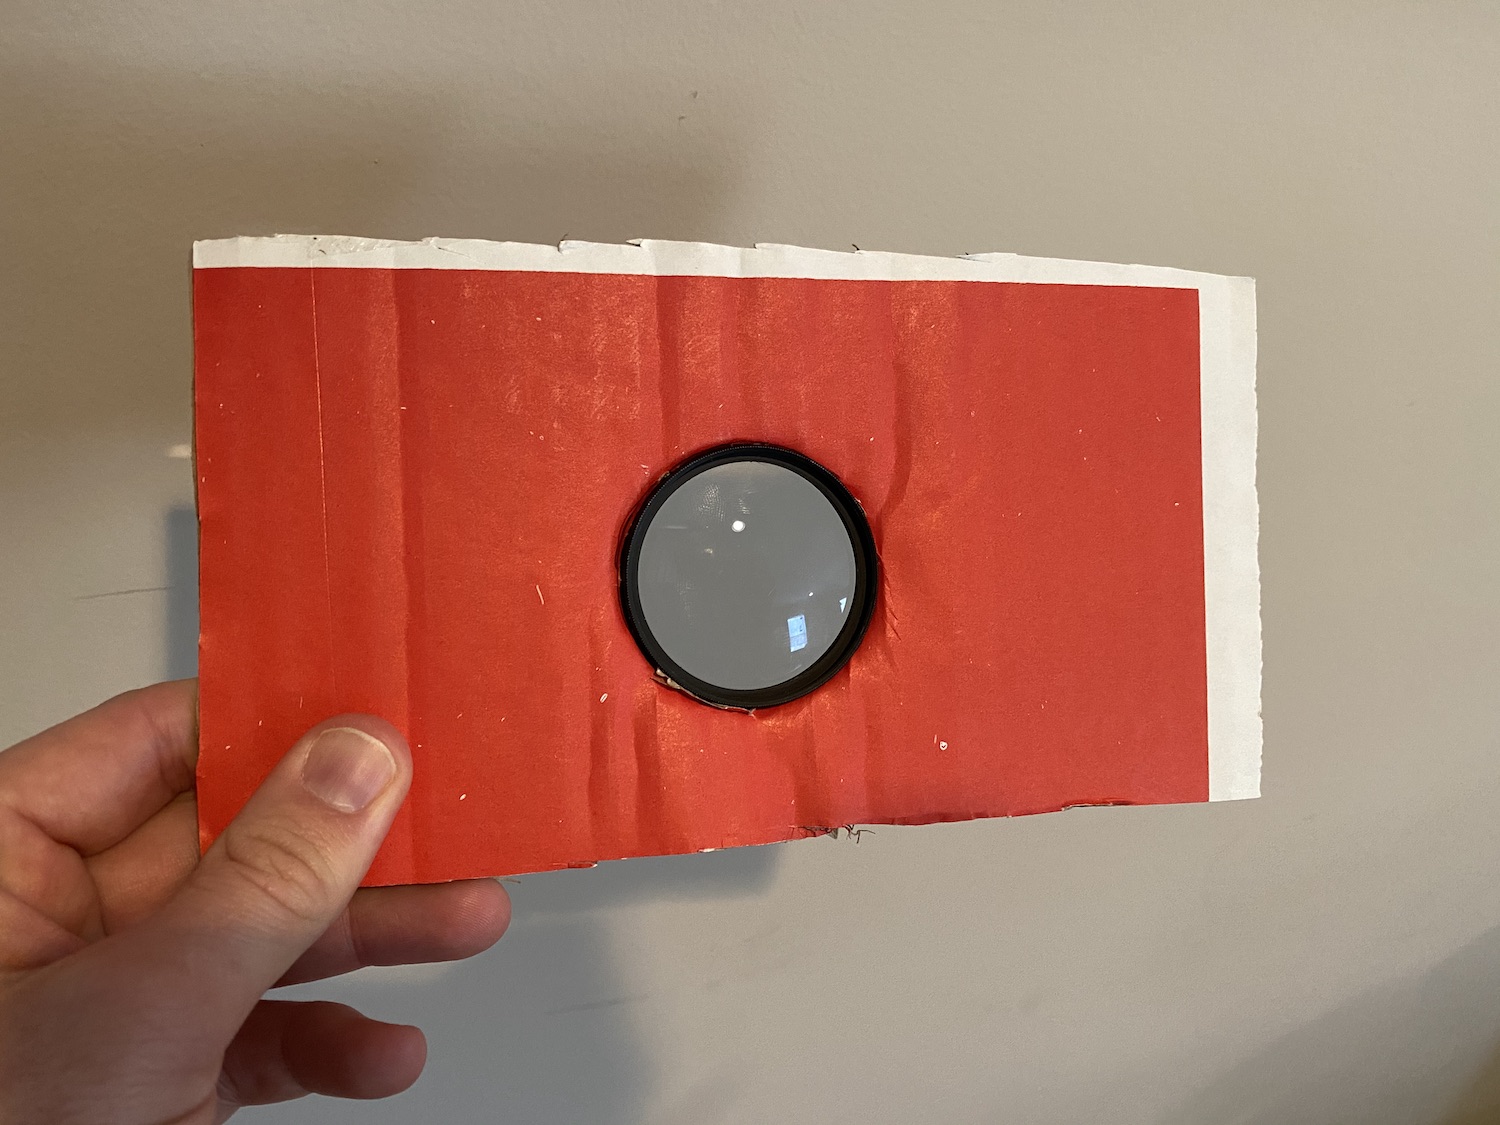
The lens. Which sat in front of the 3/16″ aperture.
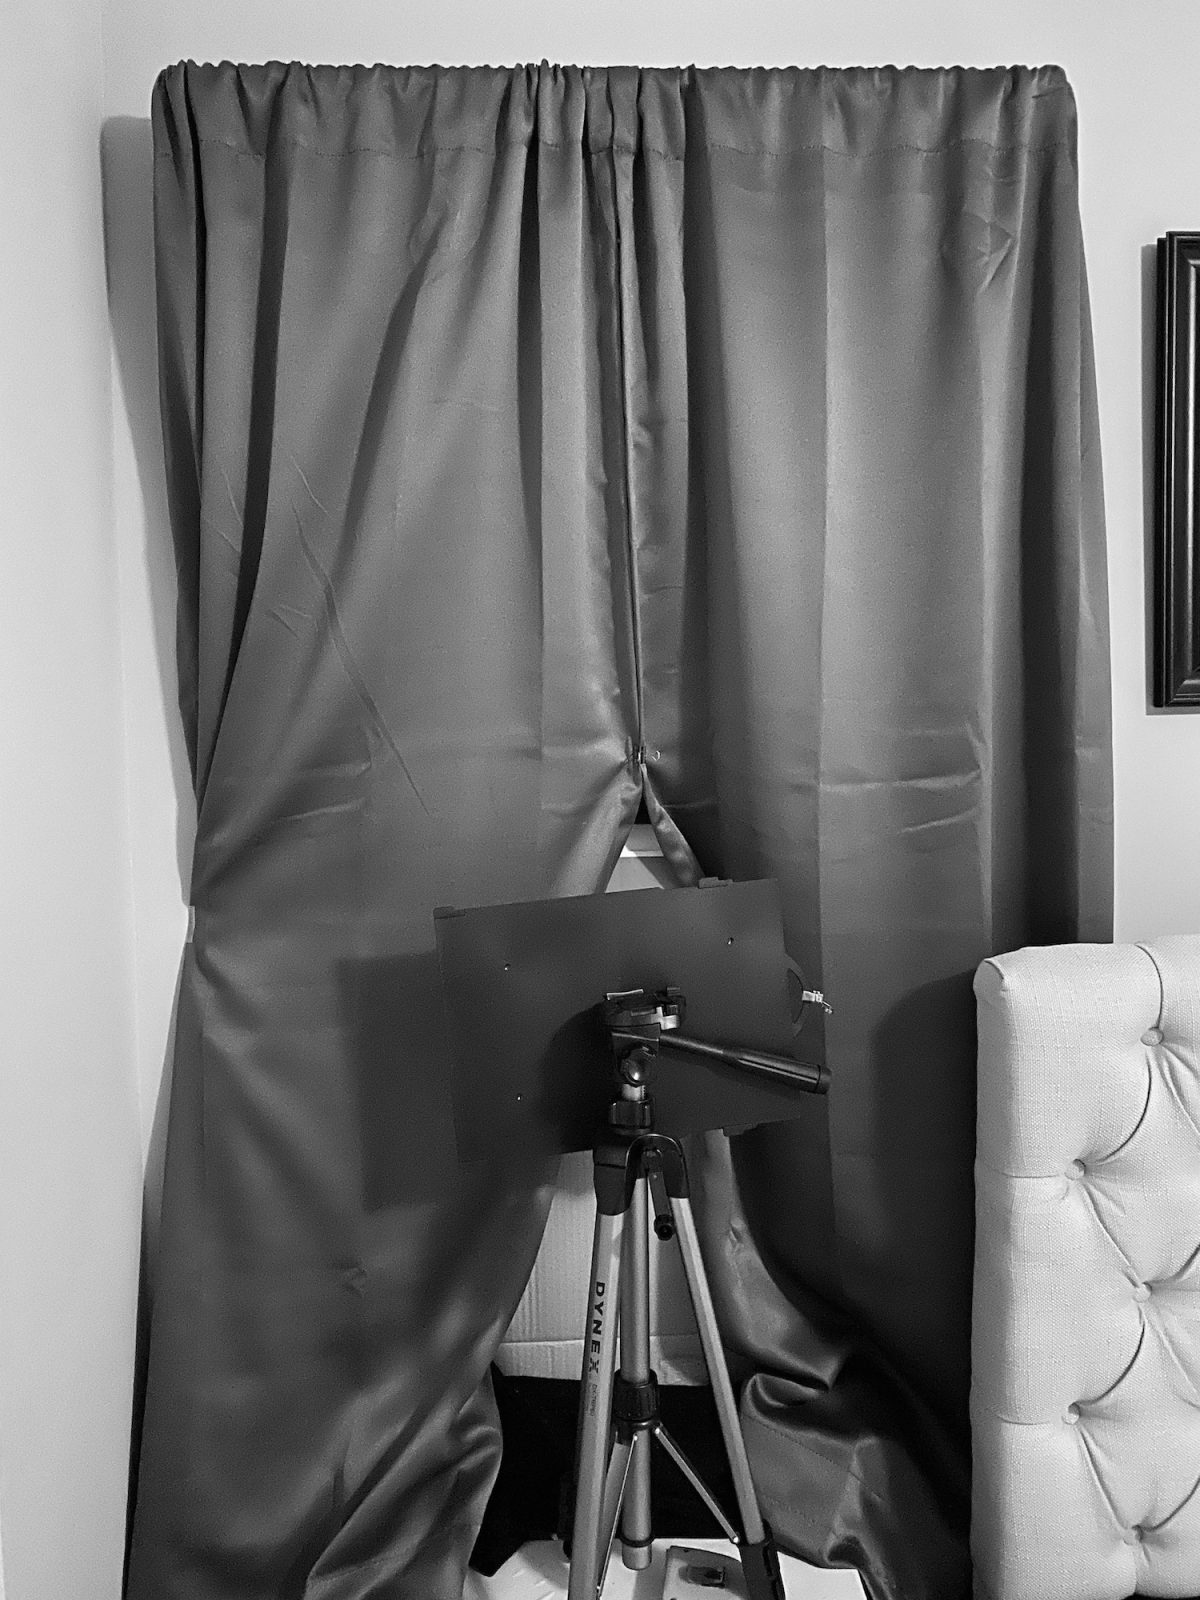
The canvas.
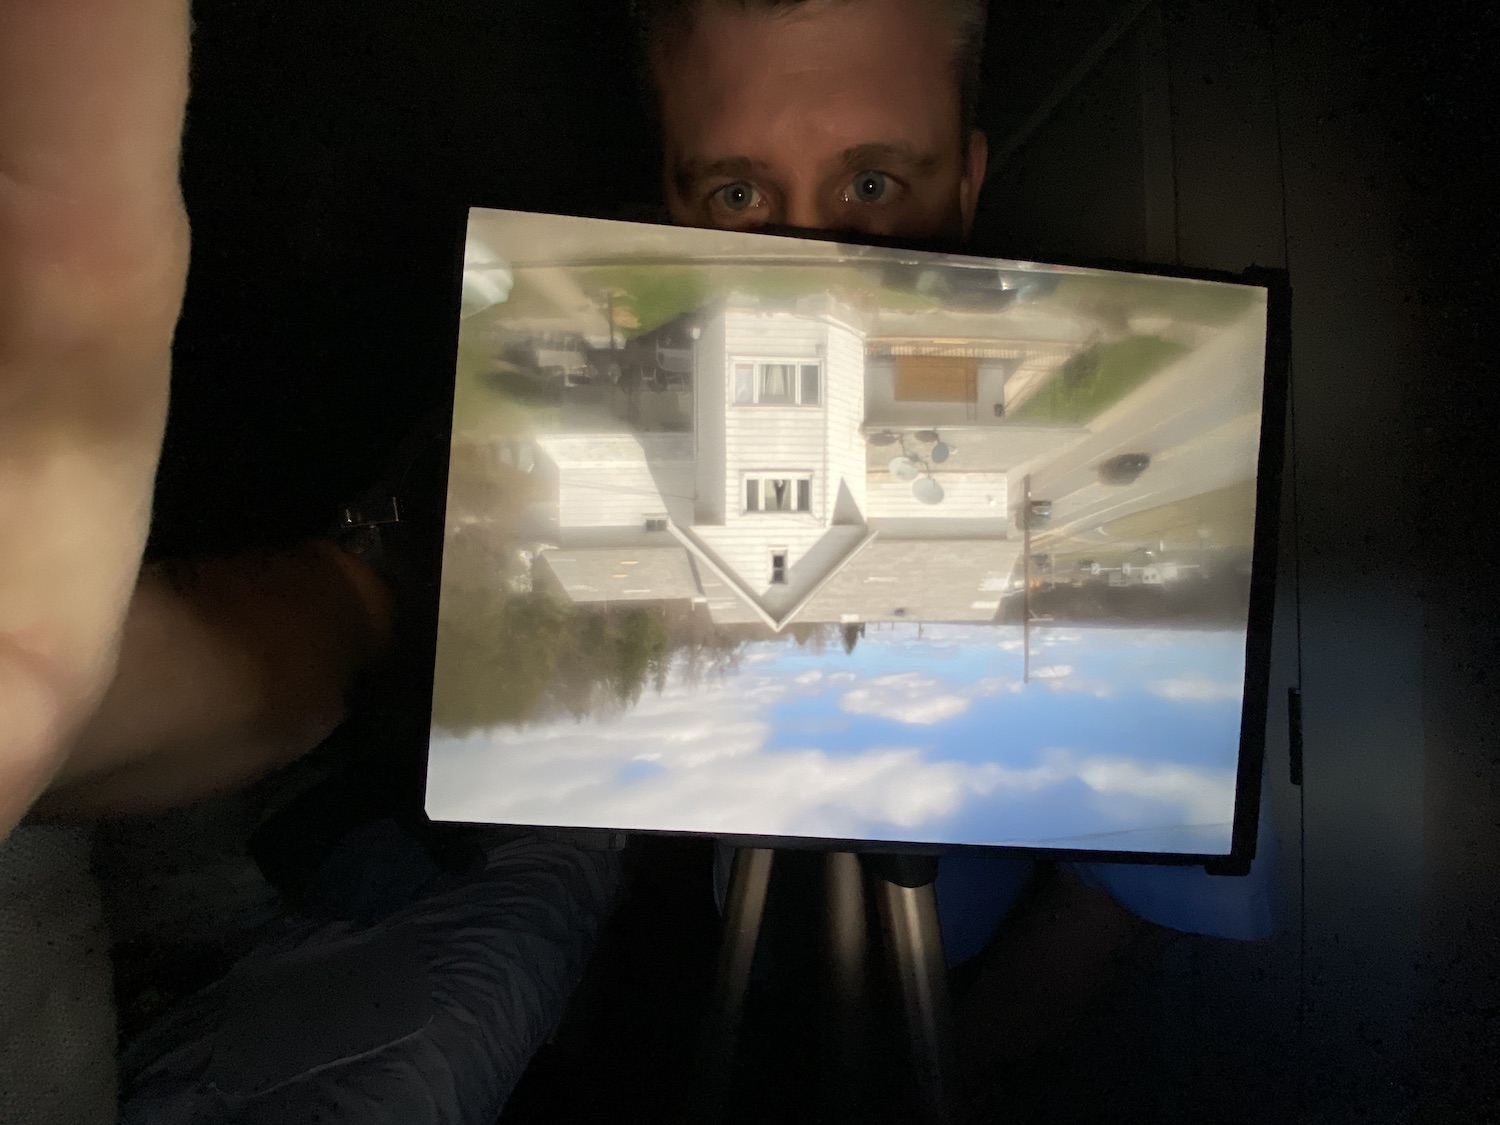
Using my iPhone, I captured the forward-facing side of the canvas
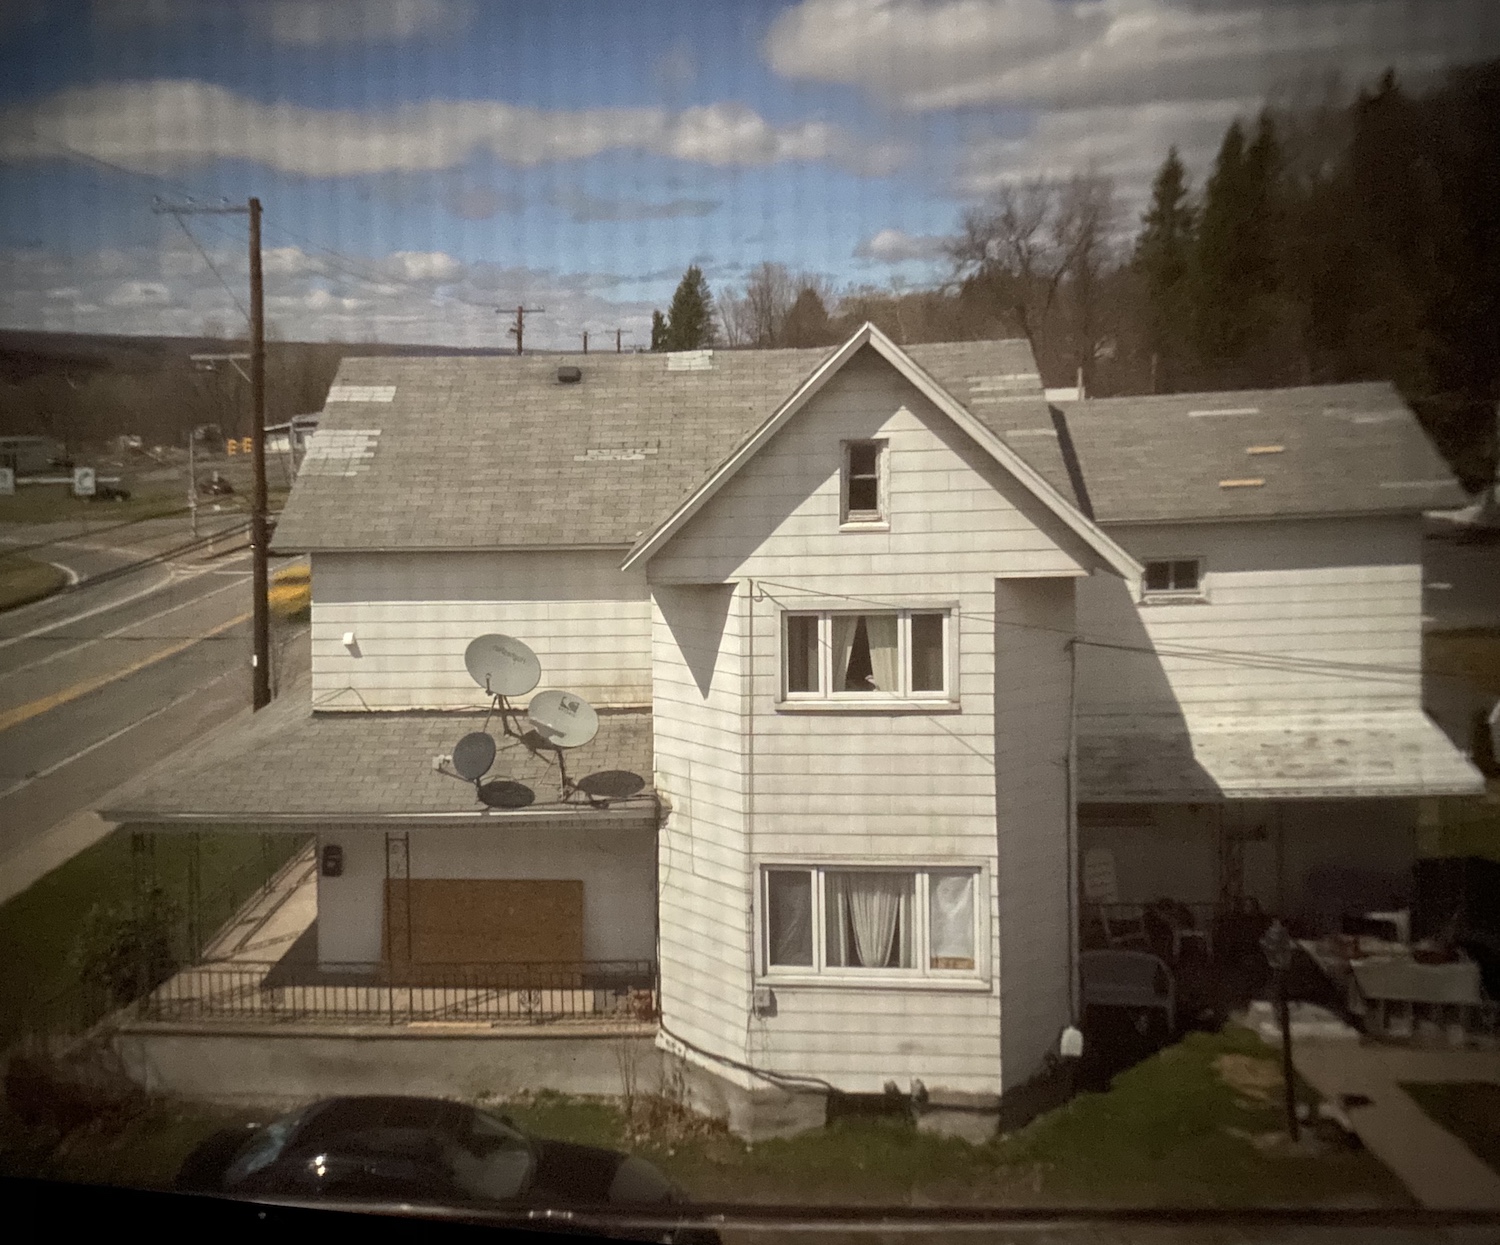
A digital capture, flipped horiz and vert.
With this set up; a 2x lens filter, 3/16″ aperture in cardboard, 8×10 white surface about 10″ from aperture – I was able to produce a sharp enough image for my liking. Now I all I needed was a way to capture the image without using digital (though, this was fun too as I created several exposures using my iPhone).
I have a bunch of film laying around and I almost considered throwing a few rolls of medium format 120 into my changing back and “building” a film surface to use. Perhaps by taping a few sheets together I could make a large enough negative. But I figured that’d be a huge waste of film. Even of the expired film I have. So instead I decided to follow Barry’s direction in his YouTube video and buy some Ilford Photo Paper (I used 5×7″, he used 8×10″) to create a paper negative. I thought it’d be fun to develop a paper negative since I had never done anything like that. So I picked up some paper, a few developing trays, and researched how to use the chemicals I already have (in my case, Kodak D76) to develop the photo paper immediately after exposing it using my bedroom camera obscura.
And that is exactly what I did. After 4 exposures on 2 separate days, here are the results.
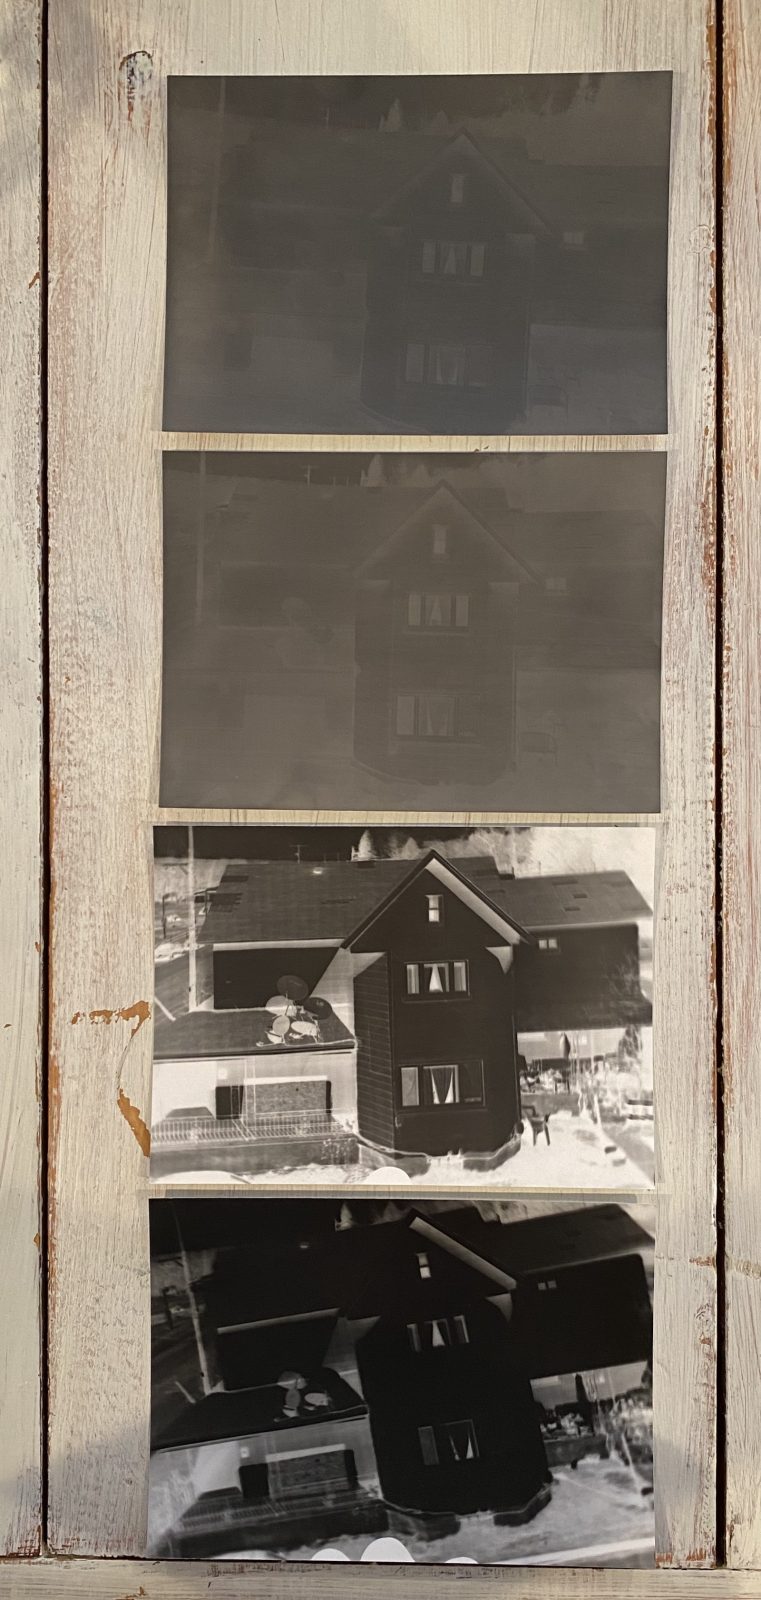
First two: Day one, Second two: Day two.
I could go on and on about why the first two look the way they do and why the second two look the way they do. But rather than bore you, this is the short of it; on the first day I was using my iPhone’s flashlight option inside of a red transparent folder. It didn’t work. It exposed the entire paper so the whole exposure looks washed out. The second set I did completely blind. Which makes the composure not-so-great but the contrast much better.
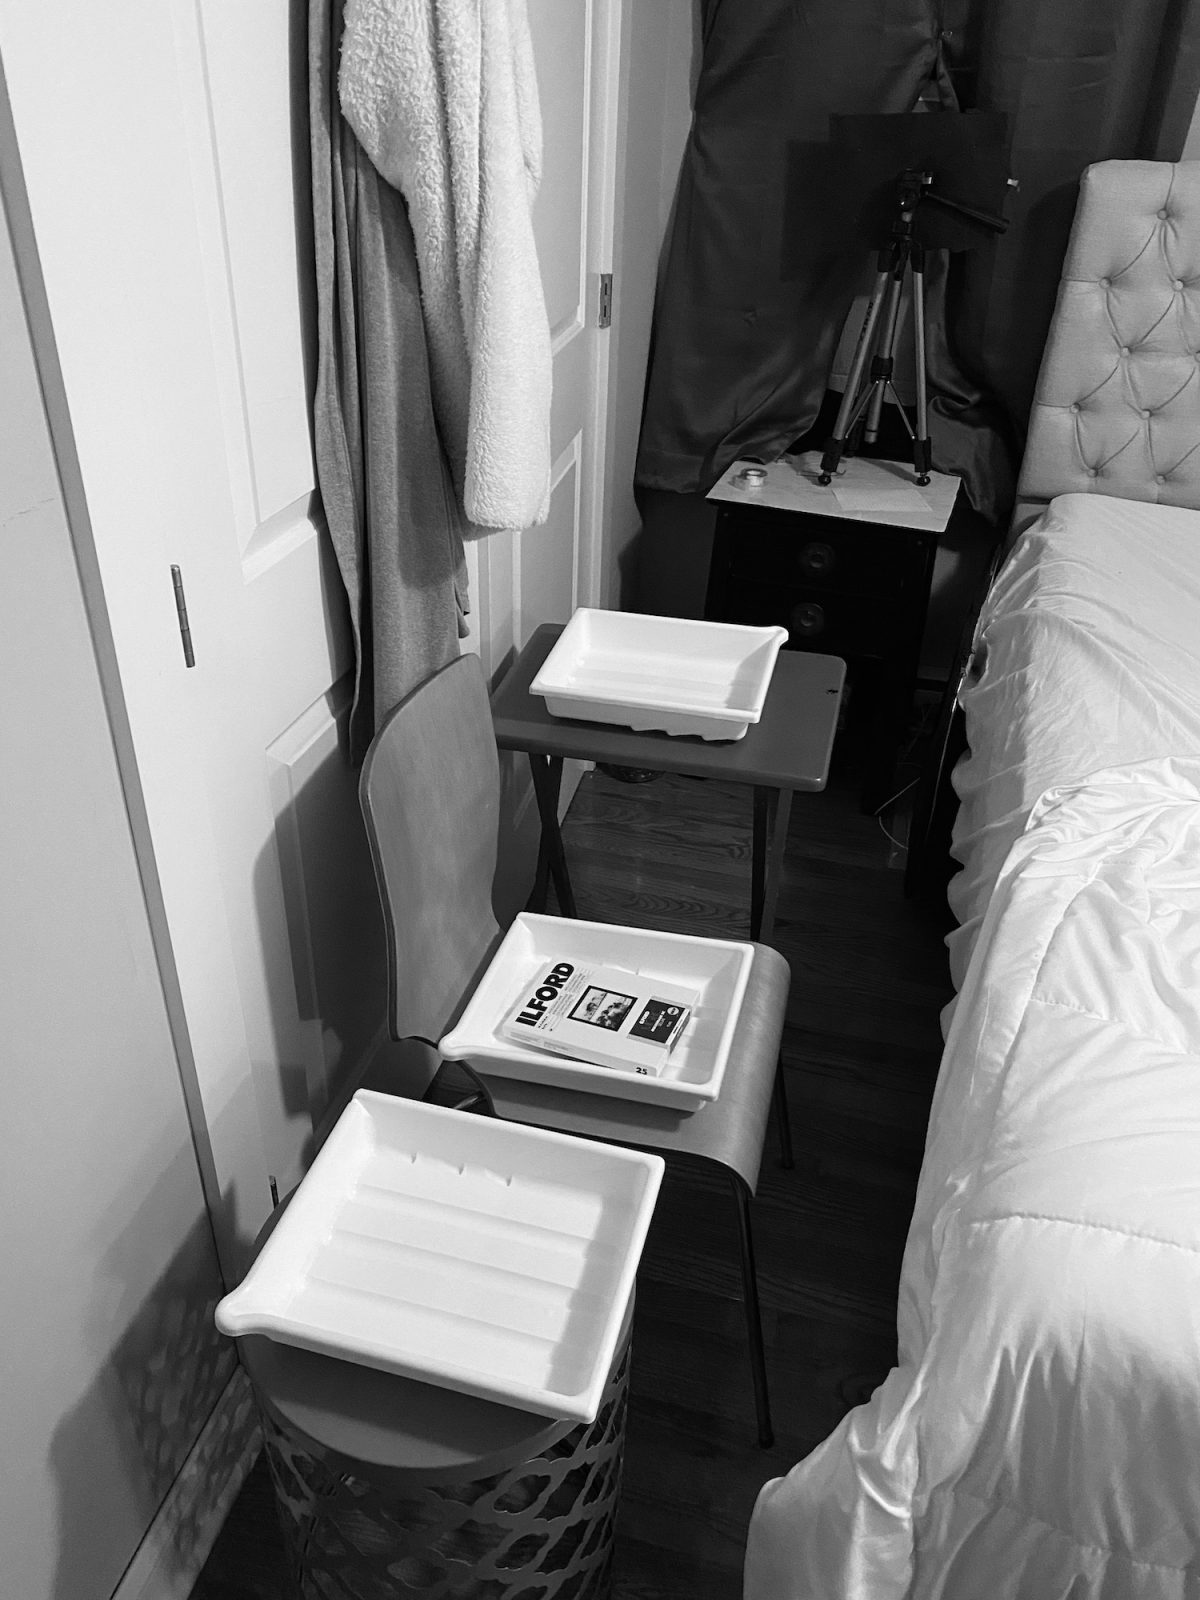
The bedroom darkroom
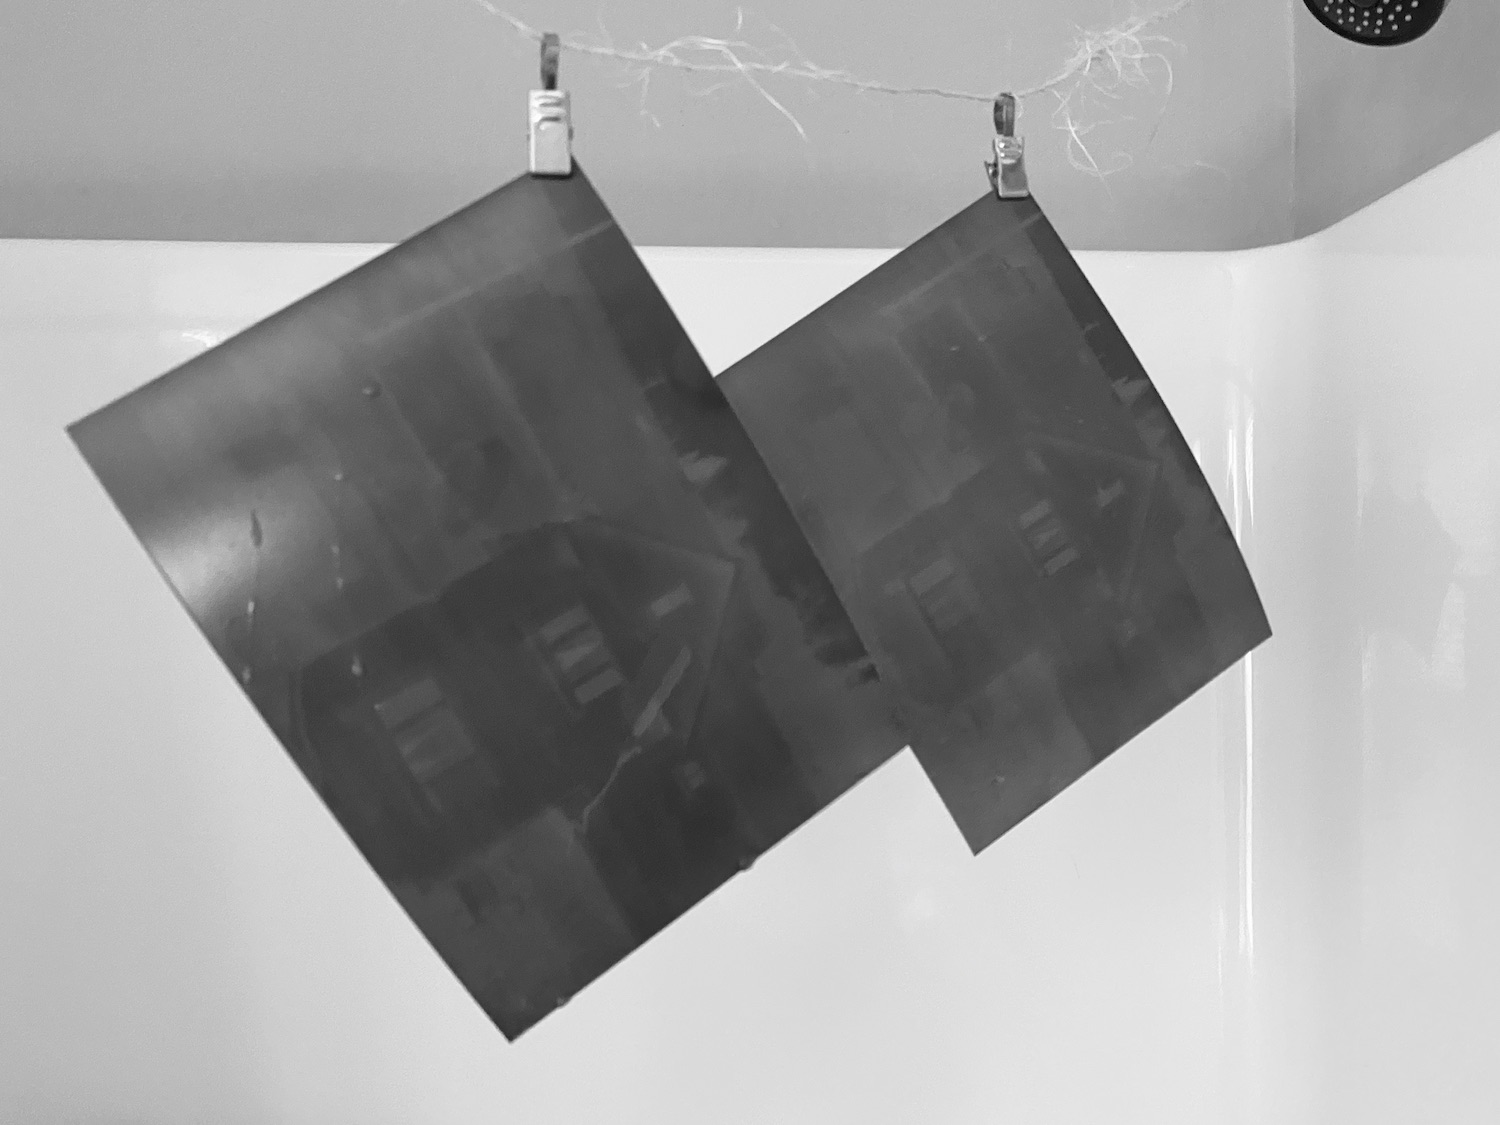
Day one exposures hanging to dry
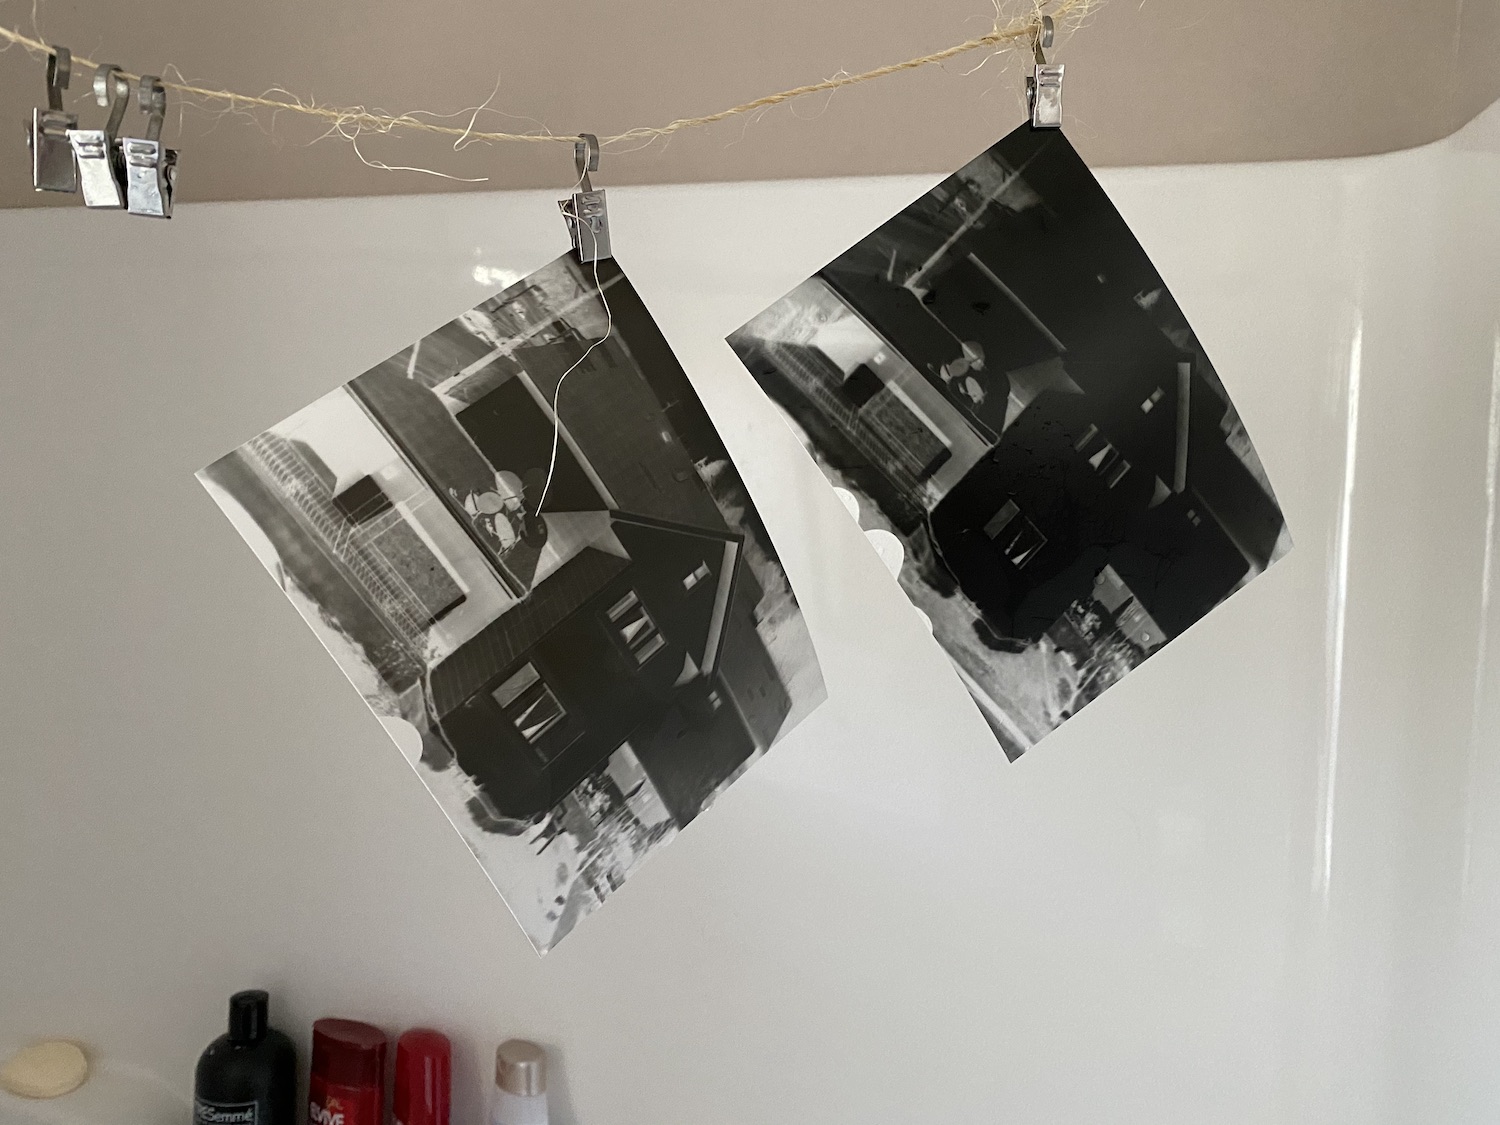
Day two exposures hanging to dry
Ironically, the exposure I did first – 4 seconds – was the very best shot I took. I just ruined it with the iPhone flashlight. Here is what a digital positive of that looks like.
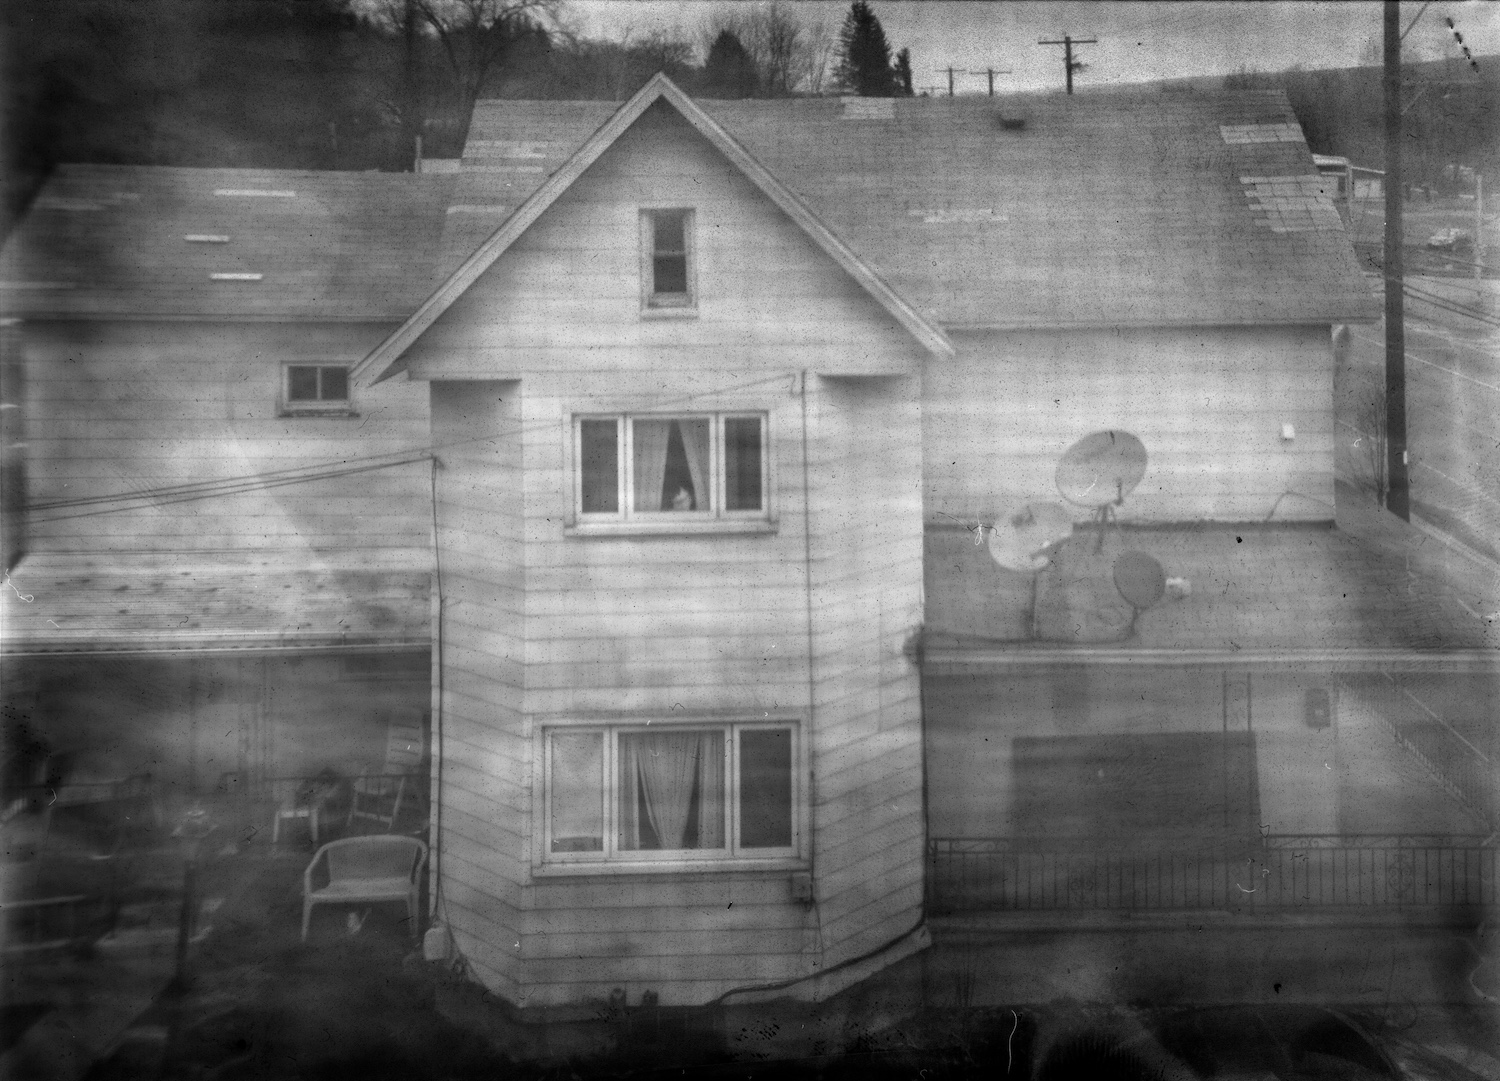
A digital positive, made from a 5×7″ paper negative
The second-best exposure is this 3 second (it was much brighter day) exposure. It is blurry because I was hand-holding this in the dark. I should have been more patient. You can even see my finger marks from where I was holding the paper.
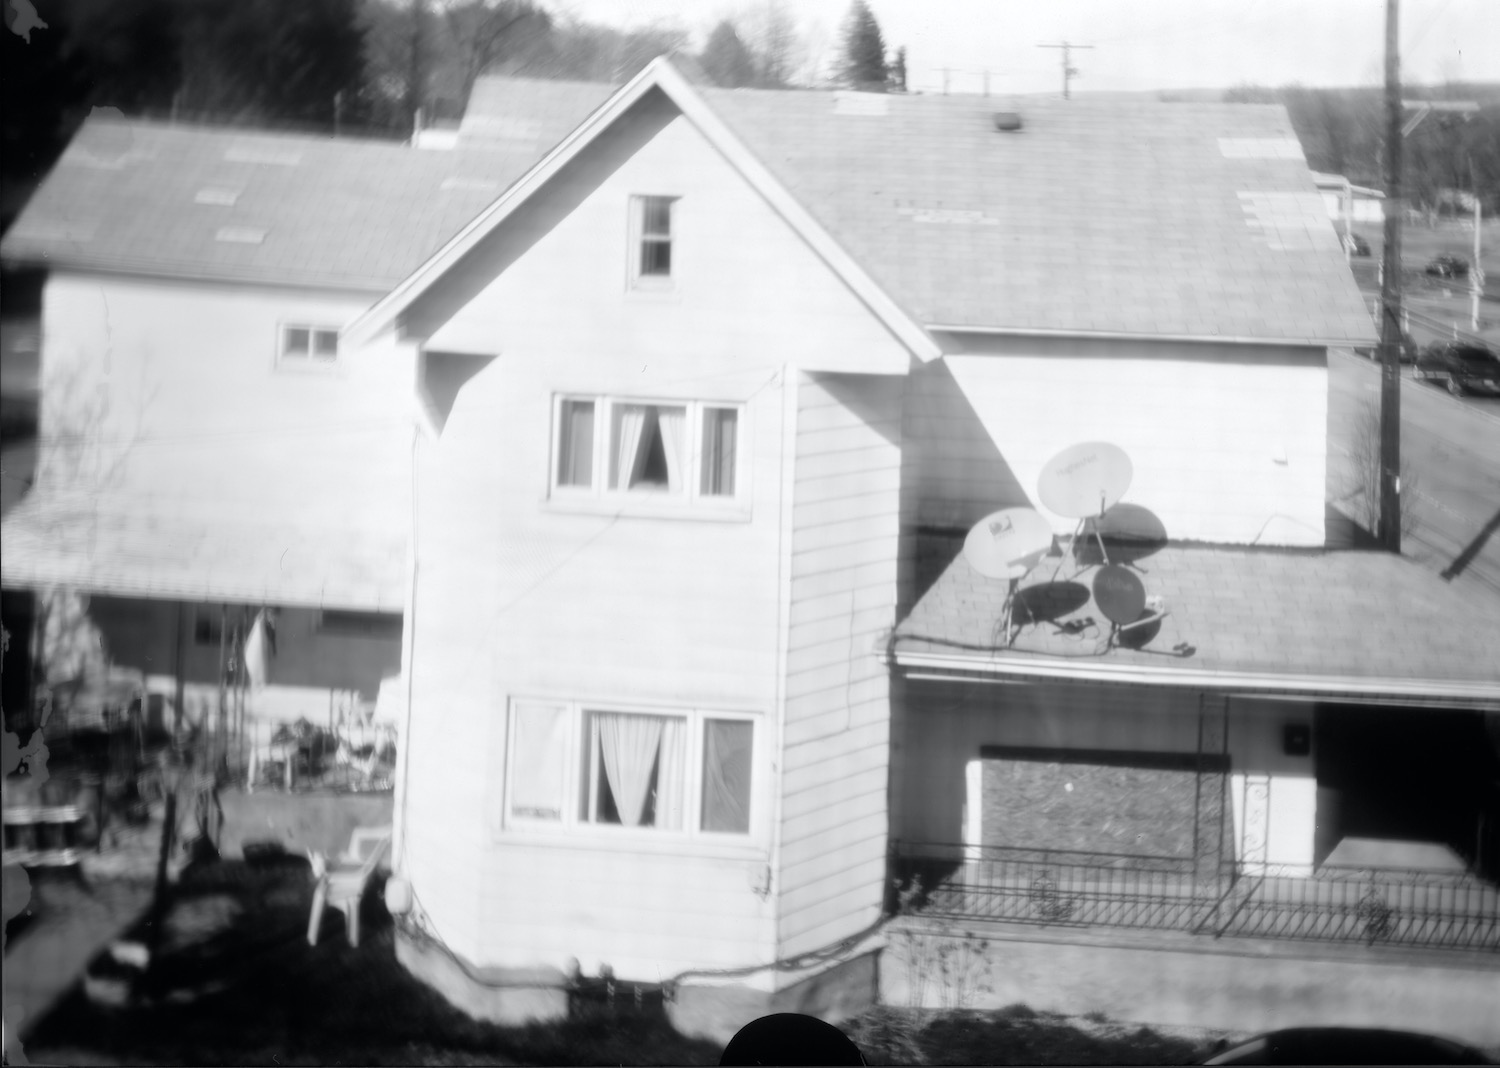
Blurry, due to motion.
This was a really, really fun project. I learned an awful lot. Thanks to Brendan Barry for helping me via Instagram Direct Messages to make tweaks to my set up.