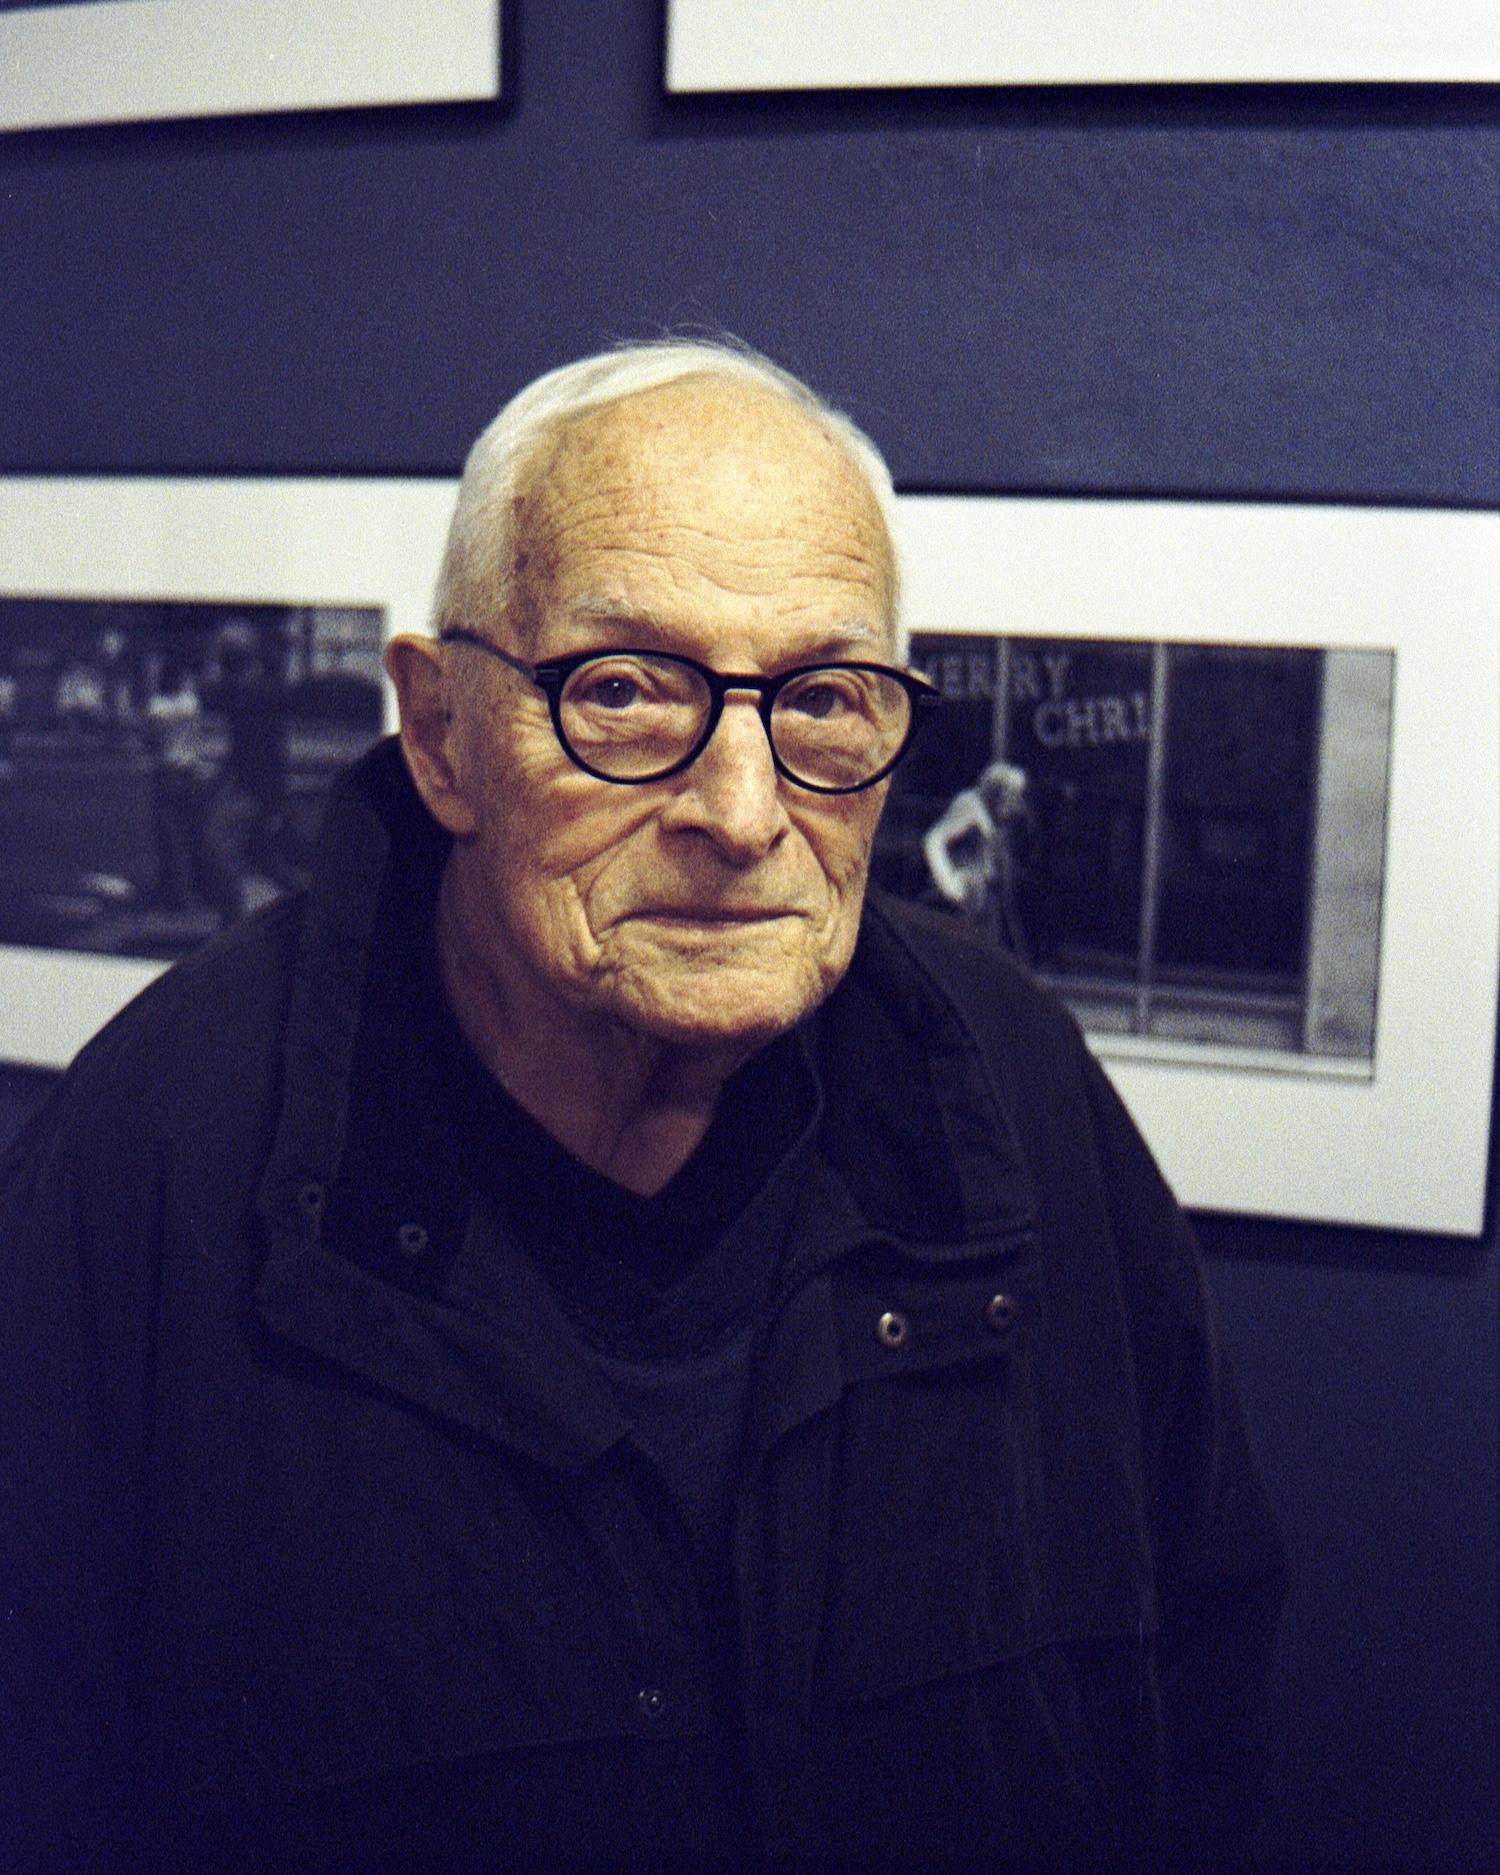
Hi, I’m Colin
Reverse engineer. Photographer.
Darkroom printer. Blogger.
Curator. Antiquarian.

Blog posts
A hand-curated selection of recently published posts.
-
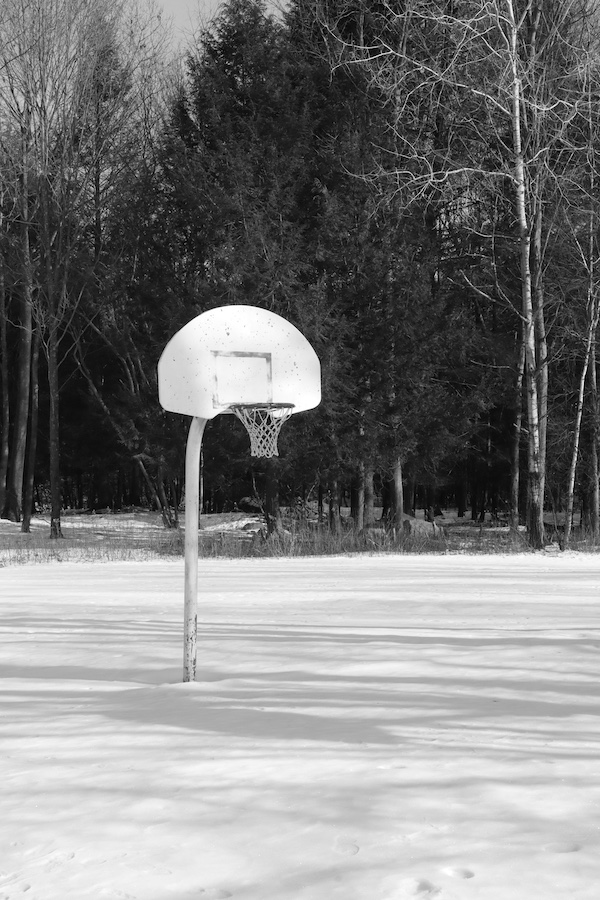
Diversions #10: Kona’s first snow
Pretty rich that I am extolling the virtues of boredom while at the same time reviving a recently discontinued series of posts on my site called, of all things, Diversions. But hear me out. These…
-
My 2026 goal is to be bored more often
What do you do with your time? I think the modern world has afforded us all more time than we know what to do with and we’re squandering it. I know this isn’t true for…
-
Taranis: “LLMs are a failure”
Anon Taranis writes that LLMs are, in large part, a failure and that all AI companies have hit a wall that they’ll never surmount. I believe it is always good to read both sides of…
-
Elizabeth Spiers on blogging
Elizabeth Spiers, writing on her own blog again finally, about how blogging is better than social media platforms because it is harder to pick a fight. I’m generalizing off course, go read her post. I…
-
Hesitant thoughts on LLMs
I’ve wanted to write a follow-up to my April 2023 post How I’m using ChatGPT as an accelerator for several months. I want to share how I’m using AI today, what I think about it,…
-
Unmark 2025.2, the removal of the free tier, and a price increase
Over the past few months of weekends, I managed to fix several longstanding bugs in Unmark. In fact, a beta of version 2025.2 is now available and will be released this week and is already…
-
Signboard – A kanban app that writes Markdown files
I’ve wanted this for a long time – a kanban style productivity desktop app that writes Markdown files to disk. And that is what Signboard is. It looks like this. And here is this board…
-
My appearance on Happy Subscribers S1 E43
I recently had the privilege of recording an episode of Happy Subscribers and representing the team at NerdPress. Allea Grummert, of Duett, and I cover the topic of being ok with constant change, a never-ending…
-
Favorite Toots 0.2.5 fixes embeds
I love my favorite toots page which shows toots that I favorited on Mastodon recently. It is a nice showcase of people doing awesome things and sharing them on Mastodon. But it was broken for…
Portfolio
A selection of creative projects from photography, painting, software and other mediums.
